How A Commercial Roof Inspection Works (Process Guide)
If you manage or own a commercial property, understanding how a commercial roof inspection works can save you time, money, and future headaches. These inspections are crucial for detecting problems early, ensuring your building remains compliant, and planning repairs or replacements strategically. For business owners in South Bend and surrounding areas, regular roof inspections are especially valuable due to the region’s snow, rain, and seasonal shifts.
In this guide, you’ll learn:
- What’s involved in a typical commercial roof inspection
- How inspectors assess roof condition and safety
- Why timing and frequency matter
- What to expect after the inspection is complete
Let’s walk through the full process step by step.
Why Commercial Roof Inspections Matter
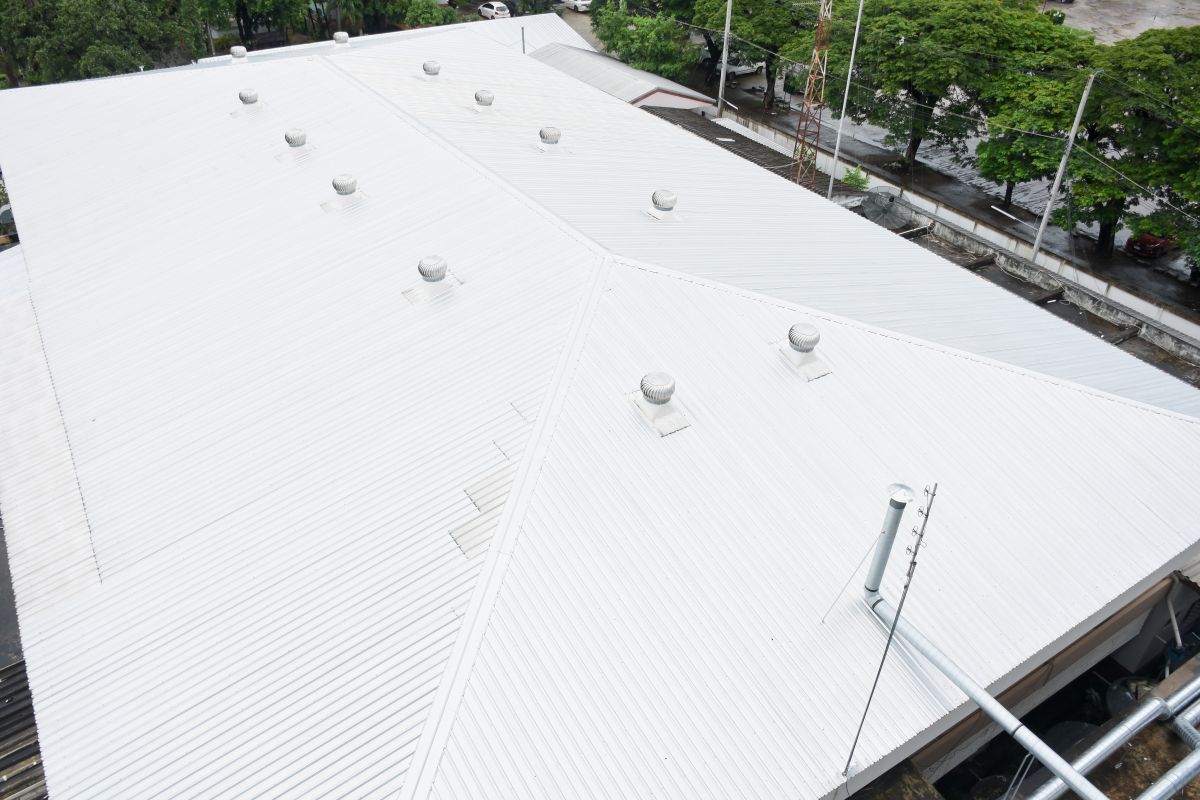
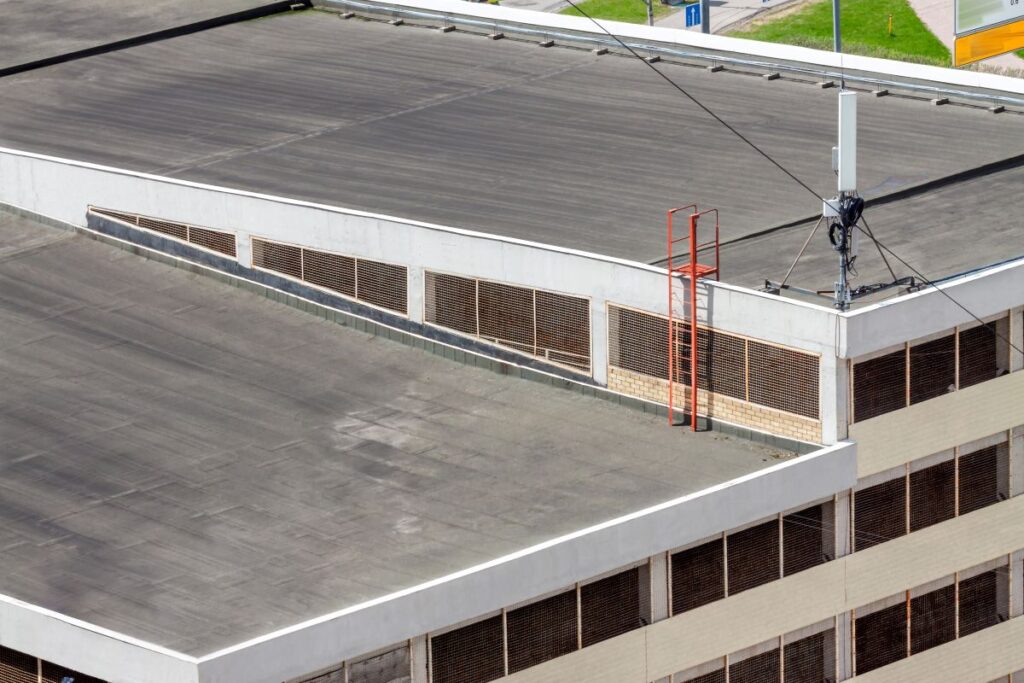
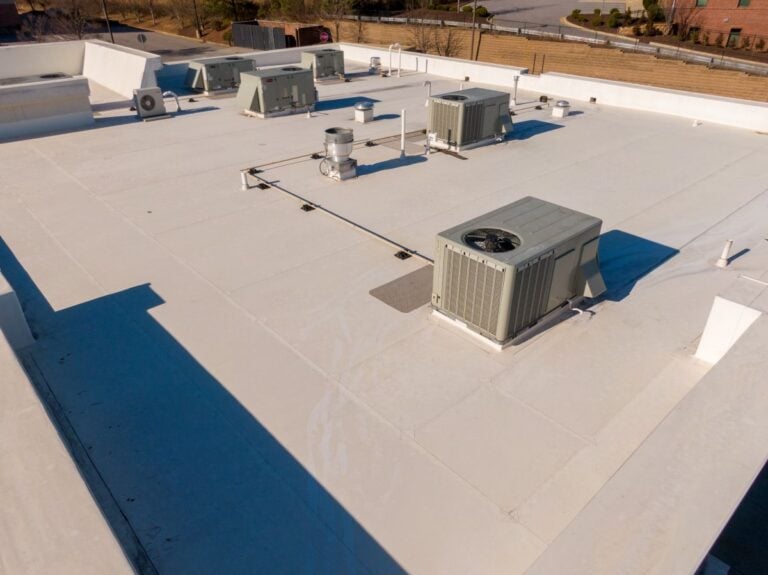
Many commercial roofs are flat or low-slope systems, which makes them more vulnerable to drainage issues, membrane damage, and thermal movement. Routine inspections help protect your investment by identifying problems before they escalate into major repairs or interior damage.
Professional roof inspections are also often required for:
- Warranties: Manufacturers may require documentation to keep coverage valid
- Insurance claims: Thorough inspection reports can support storm damage claims
- Preventative maintenance: Catching issues early avoids costly emergency repairs
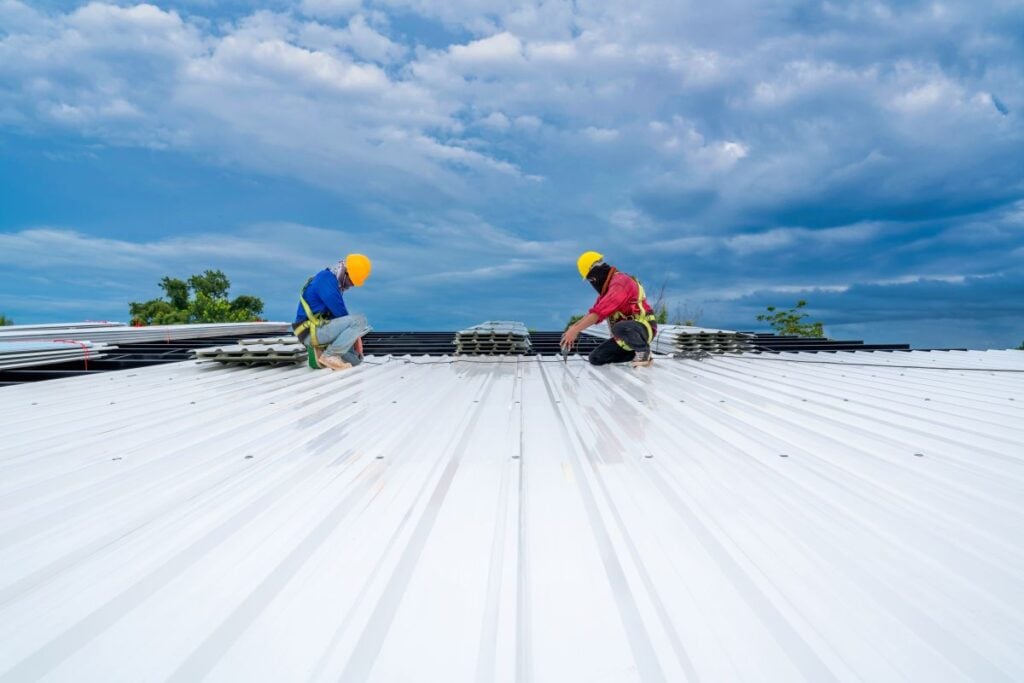
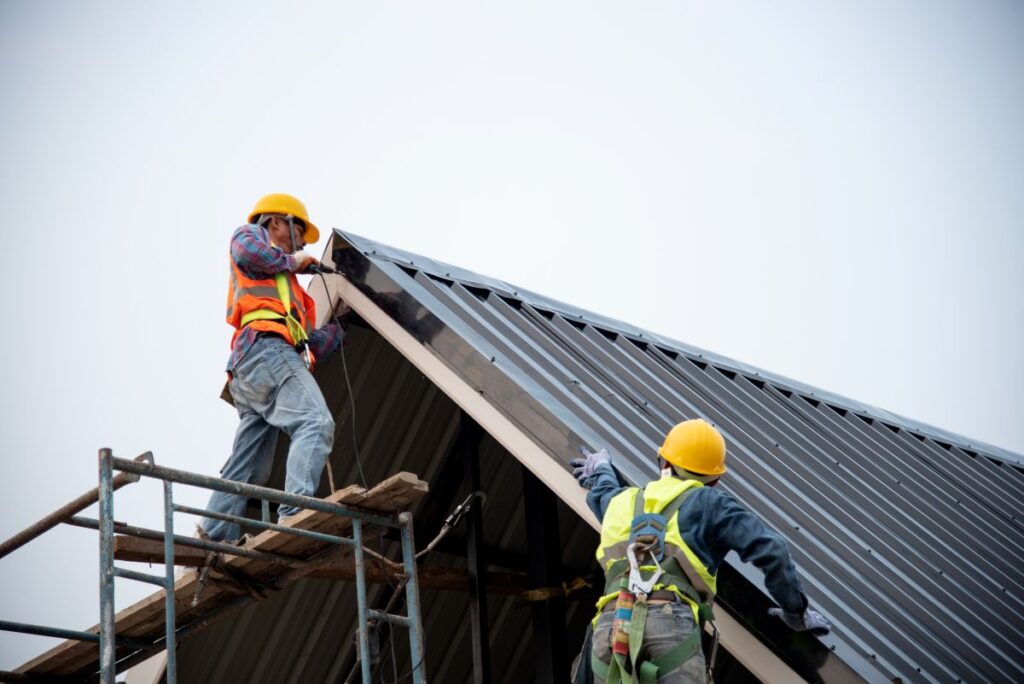
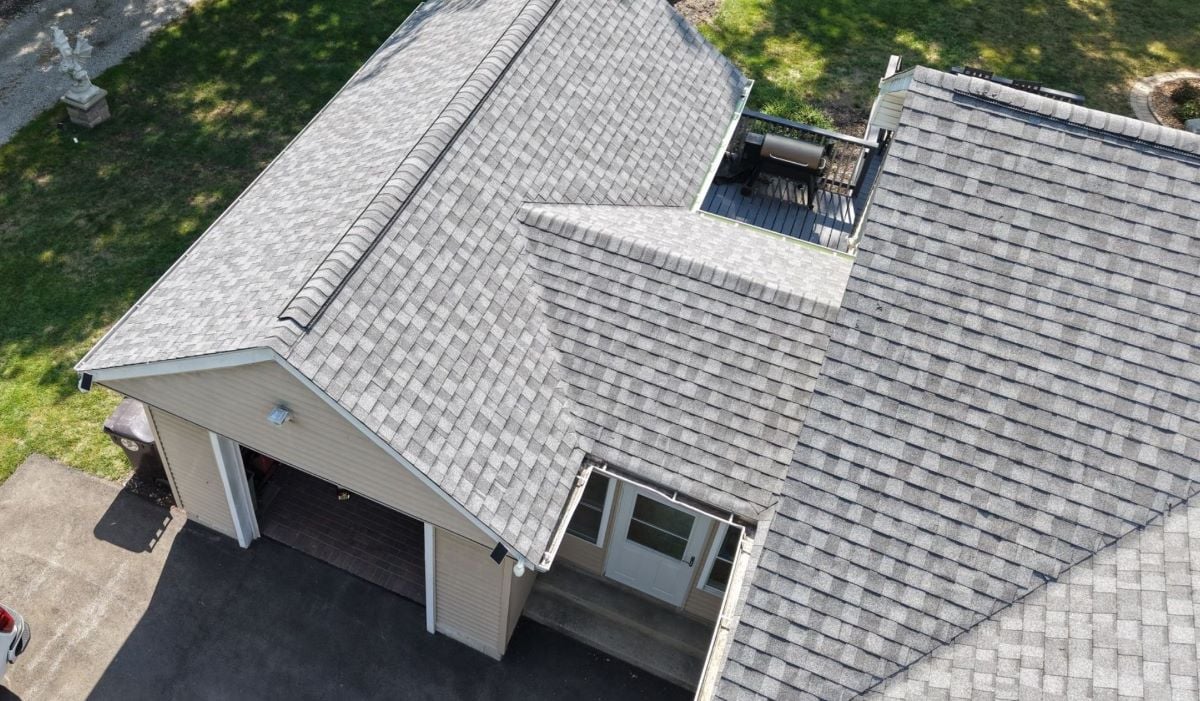
Whether your roof is TPO, BUR, or metal, routine inspections are one of the best ways to extend its service life.
9 Steps That Happen During a Commercial Roof Inspection
A commercial roof inspection is a detailed process that involves both a surface assessment and an evaluation of underlying components. The inspector will look for signs of wear, water intrusion, structural integrity, and code compliance.
1. Initial Consultation and Review
The first step is often a conversation with the building owner or property manager. This helps the roofing professional understand the roof’s history and any known concerns.
- Review maintenance records: Includes any previous repairs, leaks, or replacements
- Check warranty information: Verifies product coverage and service history
- Discuss recent weather events: Identifies possible storm-related damage
Understanding the background helps guide the inspection more effectively.
2. Visual Walkthrough of Roof Surface
The inspector begins by walking the entire surface of the roof. This step helps identify visible damage and overall wear.
- Check membrane seams and edges: Looks for lifting, tears, or unsealed areas
- Inspect drains and scuppers: Ensures proper water flow and no blockages
- Note pooling water: Prolonged standing water can damage roofing materials
Any area with visible wear or signs of degradation will be photographed and documented.
3. Examination of Roof Penetrations
Most commercial roofs contain penetrations such as HVAC units, vents, and skylights. These areas are common leak points if not properly sealed.
- Inspect flashing around equipment: Ensures tight seals and no cracking
- Check boots and collars on vent pipes: Verifies no dry rot or tearing
- Review expansion joints: Looks for separation or deterioration
Addressing small issues in these areas early can prevent widespread water intrusion.
4. Interior Building Inspection (Optional)
In some cases, the inspection includes an evaluation inside the building to check for hidden water damage or leaks.
- Look for ceiling stains: Indicates roof leaks that may not be visible outside
- Inspect upper walls and insulation: Reveals moisture penetration
- Review HVAC ductwork: Ensures it hasn’t been affected by roof leaks
Interior inspections are especially useful when roof leaks are suspected but not visible from the exterior.
5. Moisture Detection and Infrared Scanning
Advanced inspections may include moisture mapping or infrared thermal imaging. These tools help detect issues beneath the surface that aren’t visible during a standard walkthrough.
- Infrared cameras: Identify temperature differences that suggest moisture
- Moisture meters: Confirm water intrusion in insulation or decking
- Core sampling: Small sections are removed to inspect under layers
These methods provide a more complete understanding of roof health.
6. Drainage and Slope Evaluation
Improper drainage is a leading cause of roof failure. The inspector will assess how water moves across the roof and whether the slope is functioning correctly.
- Look for clogged drains or overflows: Ensures water has an exit path
- Inspect for sagging areas: These collect water and indicate underlying issues
- Check gutter systems (if applicable): Ensures downspouts are directing water away properly
Correcting slope or drainage problems early prevents pooling and long-term deterioration.
7. Perimeter and Wall Flashing Review
Roof perimeters and flashing are often where water first penetrates. These areas receive special attention during inspections.
- Inspect coping caps and edge metal: Looks for corrosion or detachment
- Check parapet wall seams: Sees if seams are opening or unsealed
- Review base flashing: Ensures it extends correctly and is fully adhered
Secure flashing keeps the building envelope watertight and code compliant.
8. Photos, Documentation, and Inspection Report
Once the physical inspection is complete, the roofer will compile a detailed report. This includes recommendations and cost estimates for any needed work.
- Photo documentation: Highlights problem areas with clear visuals
- Condition ratings: Each part of the roof is scored for condition and urgency
- Suggested timeline: Recommends when maintenance or repairs should occur
This report is essential for planning repairs, filing insurance claims, and tracking roof health over time.
9. Maintenance Recommendations and Next Steps
Finally, your roofing contractor will meet with you to explain findings and provide next steps.
- Discuss recommended repairs: Prioritized based on urgency
- Offer maintenance plans: For ongoing inspections and upkeep
- Schedule future inspections: Typically once or twice per year
Routine inspections can often be bundled with cleaning or minor repairs to maintain warranty compliance.
How Often Should You Get a Commercial Roof Inspection?
The frequency of inspections depends on roof type, age, and exposure to elements. In South Bend, where winters can be harsh and summer storms intense, inspections should be frequent.
- Newer roofs: At least once per year to track baseline condition
- Older roofs: Twice annually, spring and fall are ideal
- After major storms: As soon as possible to document any damage
Preventive inspections cost significantly less than emergency repairs. Staying proactive is the best way to protect your commercial building and avoid surprises.
Get Peace of Mind With a Professional Inspection
A commercial roof inspection is more than a checklist, it’s a smart investment in the longevity of your property. Whether your roof is brand new or decades old, routine assessments help avoid major failures and unexpected expenses.
Contact Discount Roof today for a professional roof estimate. We’ll make sure your South Bend property stays safe, dry, and protected year-round.
Recent Articles
The Roof Learning Center
Get Your Free Estimate Today