How To Do DIY Attic Insulation Safely in 9 Steps
If you’re planning to tackle a DIY attic insulation project, it’s important to know how to do it safely, efficiently, and correctly. Homeowners in Merrillville and surrounding areas can improve energy efficiency and comfort with proper attic insulation, but without the right approach, it can lead to uneven coverage or even hazards.
This guide will walk you through:
- The tools and materials you’ll need
- How to prepare your attic
- A safe, step-by-step installation process
- Tips for avoiding common mistakes
Let’s make your attic upgrade a success without injury or wasted materials.

Why Insulating Your Attic Matters
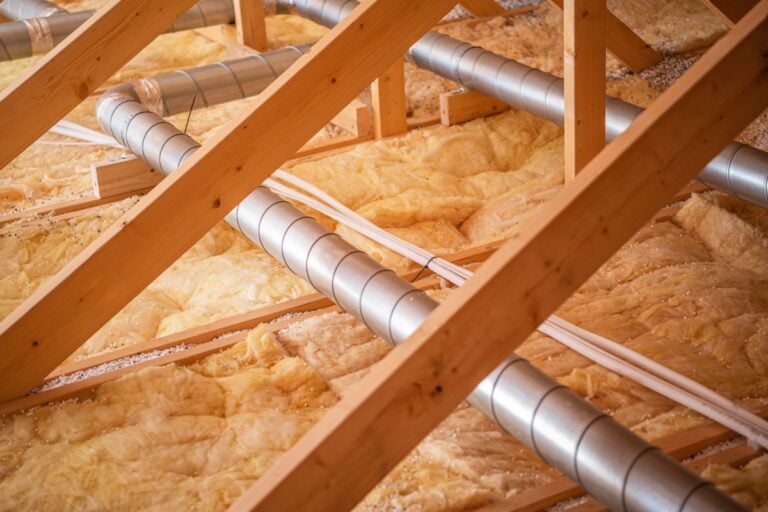
Attic insulation acts as a barrier between your living space and the fluctuating temperatures of your roof and exterior. Without adequate insulation, warm air escapes in winter and heat seeps in during summer, forcing your HVAC system to work harder.
According to the U.S. Department of Energy, proper attic insulation can reduce heating and cooling costs by up to 15 percent. For homes in Merrillville, this is especially important during our cold winters and hot, humid summers.
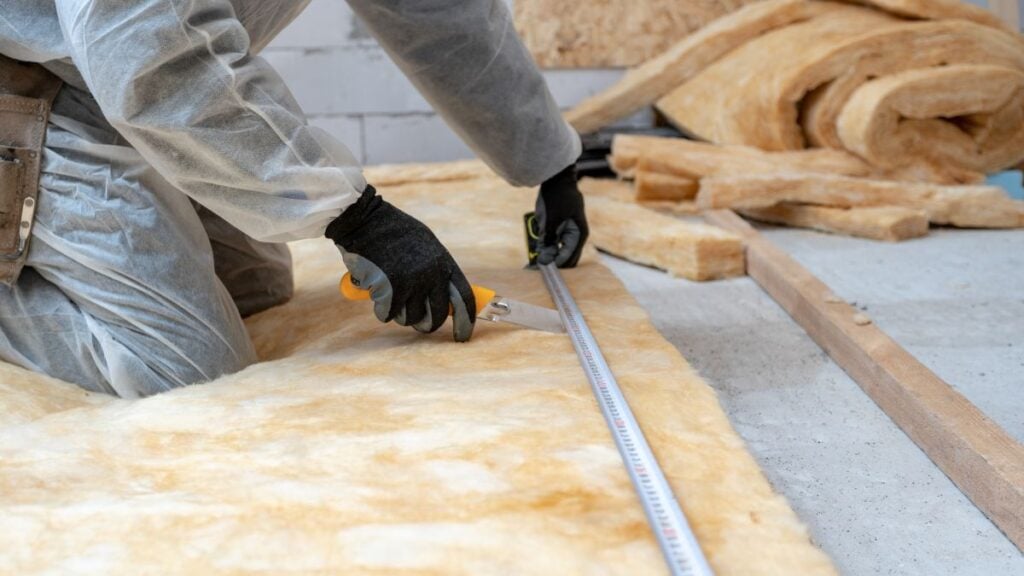
Safety First: Gear and Preparation
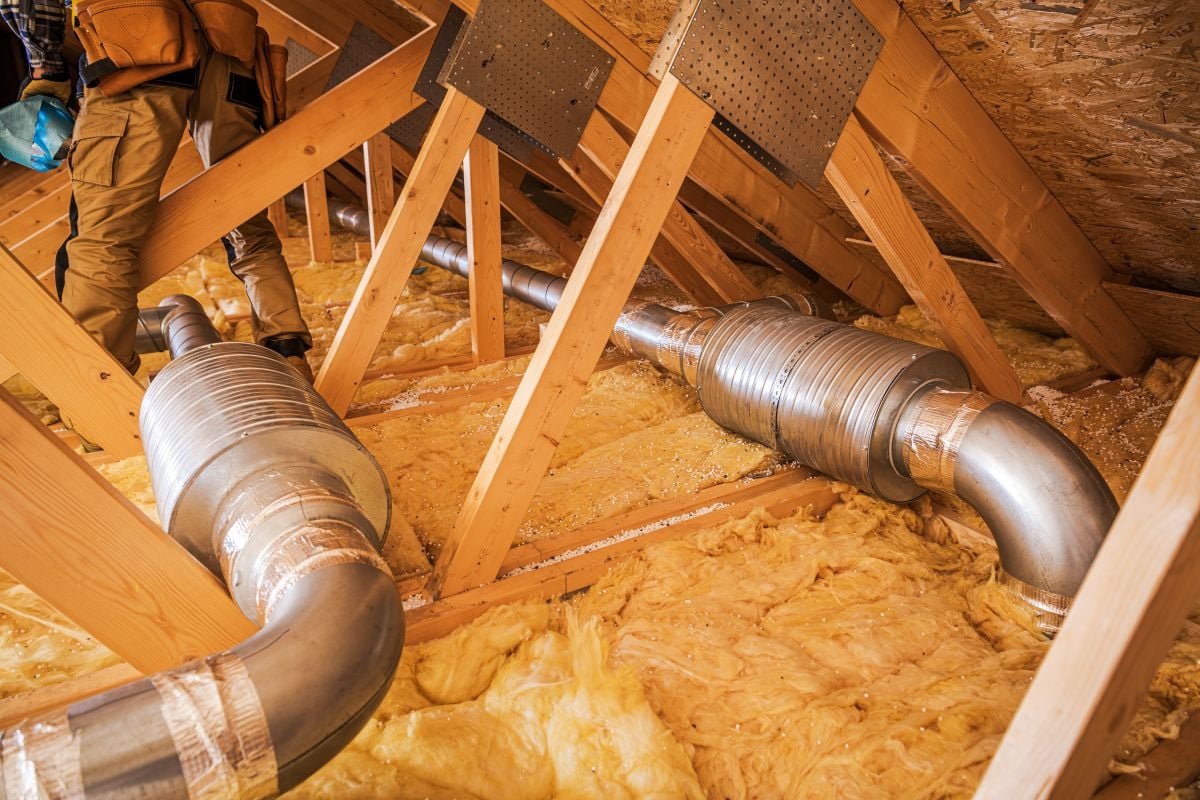
Before heading into the attic, you’ll need to prepare. Attics are confined, dusty, and often full of hazards like nails, low-clearance beams, and exposed wiring.
Must-Have Safety Gear
- Work gloves: Protect hands from splinters and insulation fibers
- Respirator mask: Essential for avoiding airborne particles
- Protective eyewear: Keeps debris and dust out of your eyes
- Coveralls or long sleeves: Protect your skin from irritants
- Knee pads: Comfort and protection for crawling in tight spaces
Tools and Materials Checklist
Gathering your tools and materials ahead of time saves time and frustration. Here’s what you’ll likely need for a DIY attic insulation job:
- Tape measure
- Utility knife
- Insulation (batts, rolls, or loose-fill)
- Staple gun
- Insulation supports or mesh (for between joists)
- Caulk or spray foam (for air sealing)
- Rulers or depth gauges (to ensure proper thickness)
- Dustpan and broom or shop vacuum
- Extension cords and portable lighting
9 Steps to Safely Install DIY Attic Insulation
These steps will guide you through the entire process, from preparation to completion.
1. Inspect Existing Insulation
Before adding anything new, check the condition of what’s already there. Damaged or moldy insulation should be removed and disposed of properly to prevent indoor air issues. Take this time to look for rodent activity, water stains, or evidence of previous damage that may need repairs before continuing.
- Look for gaps, moisture, or rodent droppings
- Check thickness to estimate current R-value
- Inspect for uneven areas or sagging
2. Seal Air Leaks
Insulation won’t be effective if air is leaking through the attic floor. Common areas for leaks include recessed lighting, attic access panels, and ductwork. Sealing gaps with caulk or spray foam will significantly increase the efficiency of your insulation and reduce drafts.
- Use caulk or spray foam around vents, pipes, and ceiling fixtures
- Seal gaps around attic hatches or doors
- Look for dark streaks or cobwebs as signs of airflow
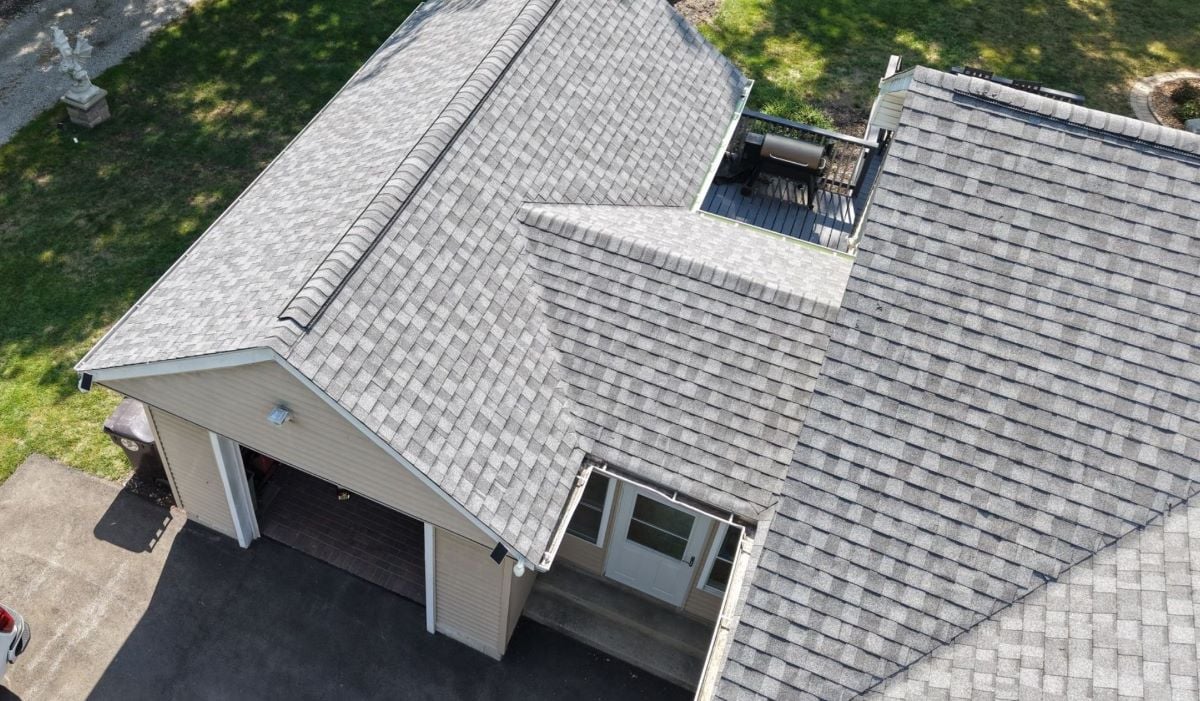
3. Ventilation Check
Proper attic ventilation prevents moisture buildup, which can degrade insulation and create mold. Make sure soffit vents, ridge vents, or gable vents are clear and unobstructed. Poor airflow can lead to heat buildup in summer and ice dams in winter, both of which can damage insulation and roofing.
- Confirm soffit and ridge vents are clear
- Install baffles if adding insulation near roof edges
- Inspect for signs of condensation or mold along rafters
4. Choose the Right Insulation Type
For DIY jobs, fiberglass batts and blown-in cellulose are common. Batts are easier for beginners to handle and are pre-cut to fit between standard joists. Blown-in insulation can fill irregular spaces more easily but requires equipment rental and careful technique to apply evenly.
- Batts/rolls: Easy to handle, ideal for even joist spacing
- Blown-in: Good for irregular spaces but requires a rental blower
- Foam board: Used in combination with batts or as hatch insulation
- Mineral wool: Higher fire resistance and soundproofing capabilities
5. Set Up Lighting and Access
Working in the attic requires good visibility and solid footing. Use portable work lights or headlamps to illuminate dark corners, and lay down temporary flooring or plywood for stability. Make sure extension cords are safely positioned to avoid tripping while you move throughout the attic.
- Use a headlamp or portable work light
- Lay down plywood sheets for crawl access
- Mark off any weak spots in the ceiling with tape or signs
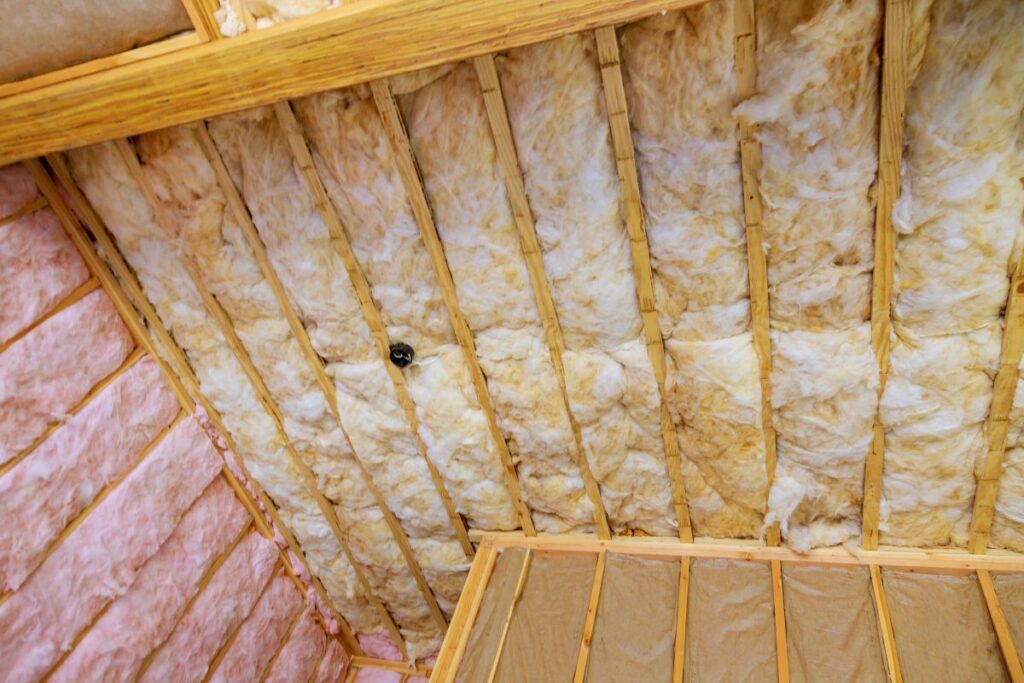
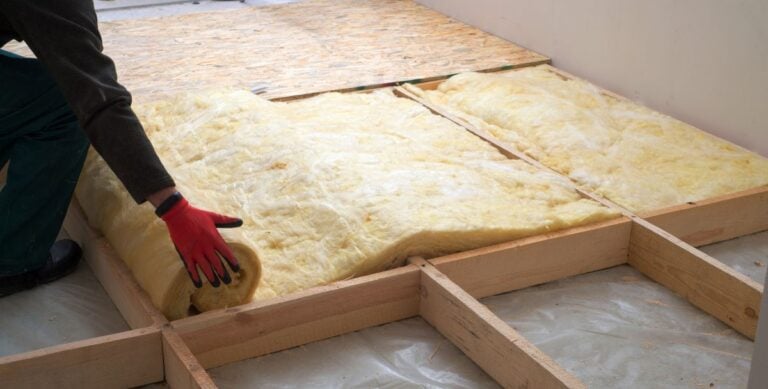
6. Install Insulation Between Joists
Start by laying insulation between floor joists without compressing it. Compressed insulation loses R-value, so it should be laid gently and evenly. Be mindful to keep the facing side (if any) toward the heated part of your home and avoid covering any vents.
- Keep paper or foil side down (facing heated space)
- Avoid blocking airflow to soffit vents
- Cut batts to fit snugly without force
7. Add a Second Layer (If Needed)
To meet recommended R-values for Indiana homes, most attics require at least two layers of insulation. The second layer should be laid perpendicular to the first to reduce gaps and cold spots. Use unfaced insulation for this layer to prevent moisture entrapment, and check depth to ensure you reach the target R-value.
- Place the second layer perpendicular to the first
- Use unfaced insulation to avoid trapping moisture
- Overlap seams and stagger rows for better coverage
8. Insulate the Attic Hatch or Access Door
The attic hatch is often overlooked but can be a major source of heat loss. Add rigid foam board or fiberglass batt insulation to the back of the hatch and seal the edges with weatherstripping. This small step significantly improves your overall insulation performance and helps maintain even indoor temperatures.
- Add foam board or batt insulation to the back of the hatch
- Use weatherstripping to seal edges
- Install a latch or seal to keep the hatch tightly closed
9. Clean Up and Review
Once all insulation is installed, carefully inspect your work for missed areas, gaps, or compressed sections. Sweep away debris to leave the attic clean and safe for future access. Label the insulation type, R-value, and installation date on a visible rafter for future reference.
- Look for missed spots or compressed areas
- Label the R-value and installation date for future reference
- Check ventilation one more time before leaving the attic
Common DIY Attic Insulation Mistakes to Avoid
Even with the best intentions, mistakes can reduce insulation performance. Here’s what to avoid:
- Blocking ventilation: Leads to condensation and mold
- Compressing insulation: Lowers the R-value significantly
- Overstuffing corners: Causes bulging and gaps
- Skipping air sealing: Undermines your insulation investment
- Ignoring safety gear: Increases risk of injury or long-term exposure
Why Merrillville Homeowners Trust Discount Roof
At Discount Roof, we understand the value of well-installed attic insulation and we know when a DIY job might benefit from professional guidance. We serve Merrillville and surrounding areas with expert advice, free inspections, and full-service attic upgrades.
We help homeowners:
- Identify insulation gaps with thermal imaging
- Choose materials that meet local energy codes
- Ensure attic ventilation is optimized
- Provide guidance for difficult or tight access spaces
Whether you start your project solo or need help halfway through, we’re here to support you.
Upgrade Your Attic the Right Way
Attic insulation is one of the best energy upgrades you can make to your home. Doing it yourself saves money, but doing it safely is just as important. With the right tools, plan, and protection, you can finish the job confidently.
Contact Discount Roof for a free attic insulation estimate. We’ll help you stay safe, meet energy goals, and protect your investment from top to bottom.
Recent Articles
The Roof Learning Center
Get Your Free Estimate Today