Siding Installation: Explaining The Process Step by Step
If you’re considering a home exterior upgrade, understanding the siding installation process can give you confidence as you move forward. Whether you’re replacing worn-out materials or enhancing curb appeal, homeowners in Hammond and surrounding areas often ask what exactly goes into a proper siding job.
In this guide, we’ll walk through:
- What to expect during a siding installation project
- A step-by-step breakdown of the full process
- Key materials and prep work involved
- Why professional installation matters
Let’s explore each stage of the siding installation process so you can make an informed decision.
Why Siding Installation Matters
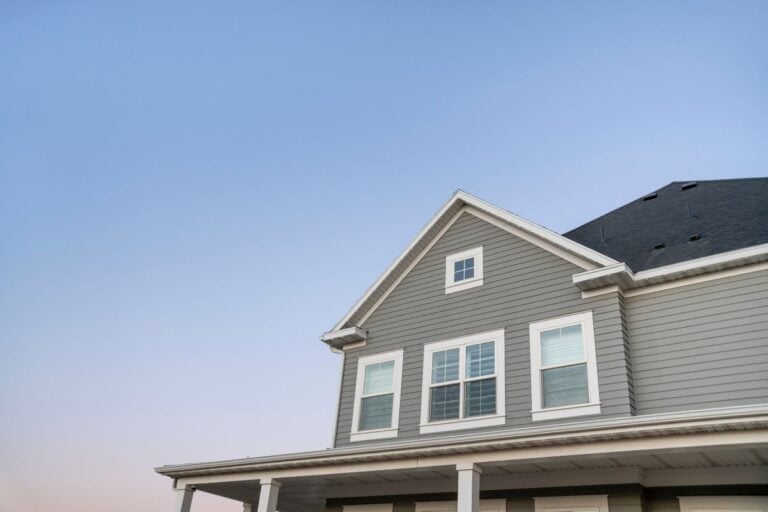
Siding protects your home from the elements while contributing to energy efficiency and visual appeal. Done right, new siding boosts your home’s value and keeps it looking fresh for years.
Choosing the right siding and installer is just part of the process. Understanding what happens on installation day, and how to prepare for it, helps prevent surprises.
Preparing for Your Siding Project
Before any tools come out, preparation is essential. Your contractor will evaluate your current exterior and plan the layout, trim, and materials needed.
- Inspection: A full walkaround identifies any water damage or rot that needs repair before installation begins.
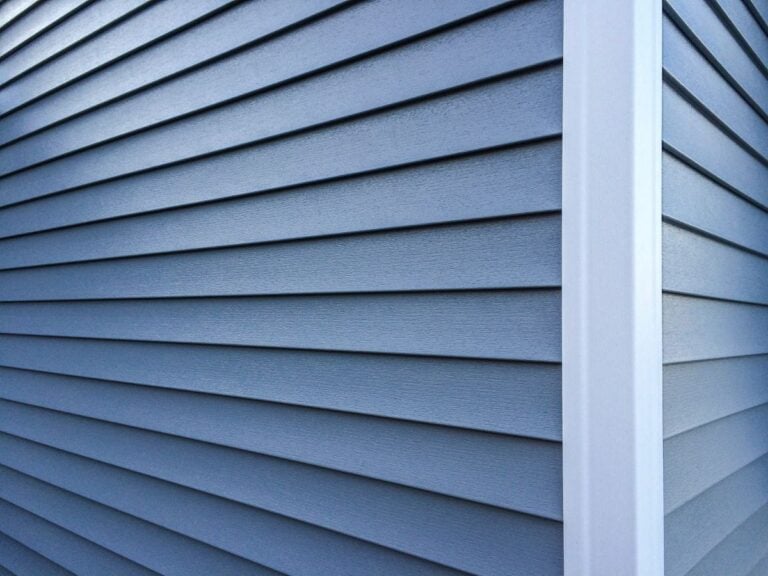
- Material selection: Based on your budget, design goals, and local climate, you’ll choose siding material such as vinyl, LP SmartSide, or fiber cement.
- Scheduling: Professional installers will schedule around weather conditions and confirm access to your driveway and yard.
Now let’s get into the actual steps involved.
9 Steps in the Siding Installation Process
Each siding project will vary slightly depending on home size, materials, and weather, but this is the standard process most homeowners in Hammond can expect.
1. Site Prep and Safety Measures
Before starting the job, the installation crew will secure the jobsite. They’ll remove outdoor furniture, trim nearby shrubs, and lay tarps to protect landscaping.
- Set up ladders and scaffolding
- Cover windows and doors with protective sheeting
- Ensure proper access and safety zones
2. Removing Old Siding
The next step is to remove the existing siding. This is often done in sections to keep the site clean and manageable.
- Carefully remove nails and fasteners
- Inspect the sheathing beneath for damage
- Dispose of old siding materials properly
3. Repairing the Wall Surface
After removing old siding, contractors inspect the sheathing and framing. If there is any water damage or rot, they replace the affected wood.
- Replace soft or rotted plywood
- Seal any gaps or cracks
- Ensure a clean, level surface for new siding
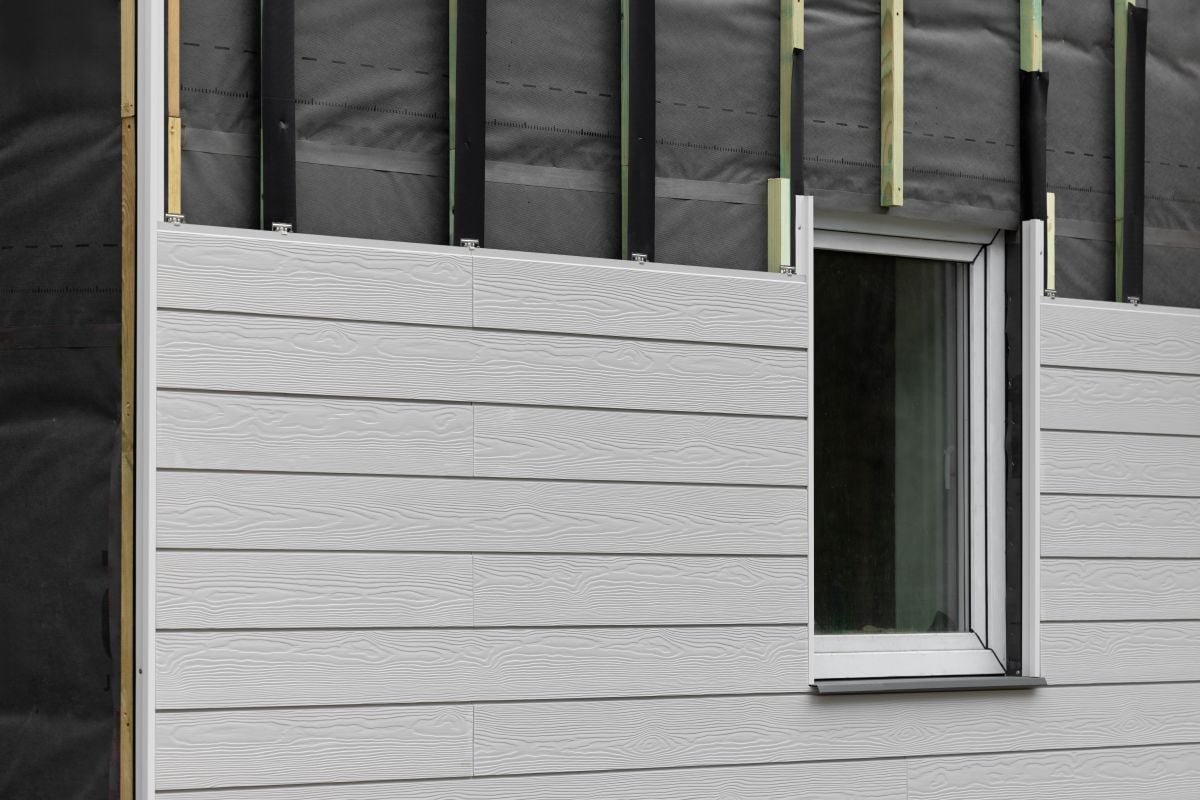
4. Installing a Weather Barrier
Before siding panels go up, a moisture barrier is installed. This step adds an extra layer of protection against wind and rain.
- Apply house wrap (such as Tyvek)
- Seal seams and openings with flashing tape
- Cut precise holes for vents, windows, and outlets
5. Flashing and Trim Installation
Flashings are installed around windows, doors, and corners to direct water away from these openings. Trim boards are added to frame the home’s edges and features.
- Install metal or vinyl flashing around windows and doors
- Attach starter strips at the base of the wall
- Nail up trim boards for clean corners and transitions
6. Measuring and Cutting Siding Panels
Every piece of siding must be measured and cut to fit the home’s design. This stage requires precision to maintain a professional, symmetrical appearance.
- Use saws or shears for accurate cuts
- Account for expansion gaps and lap spacing
- Double-check lengths to avoid waste
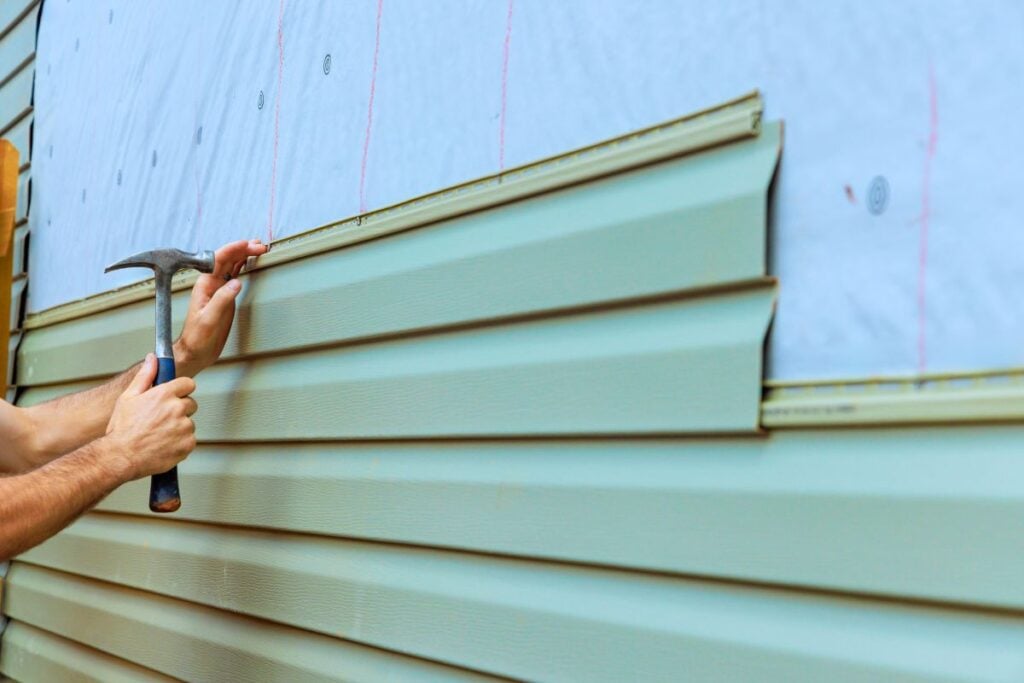
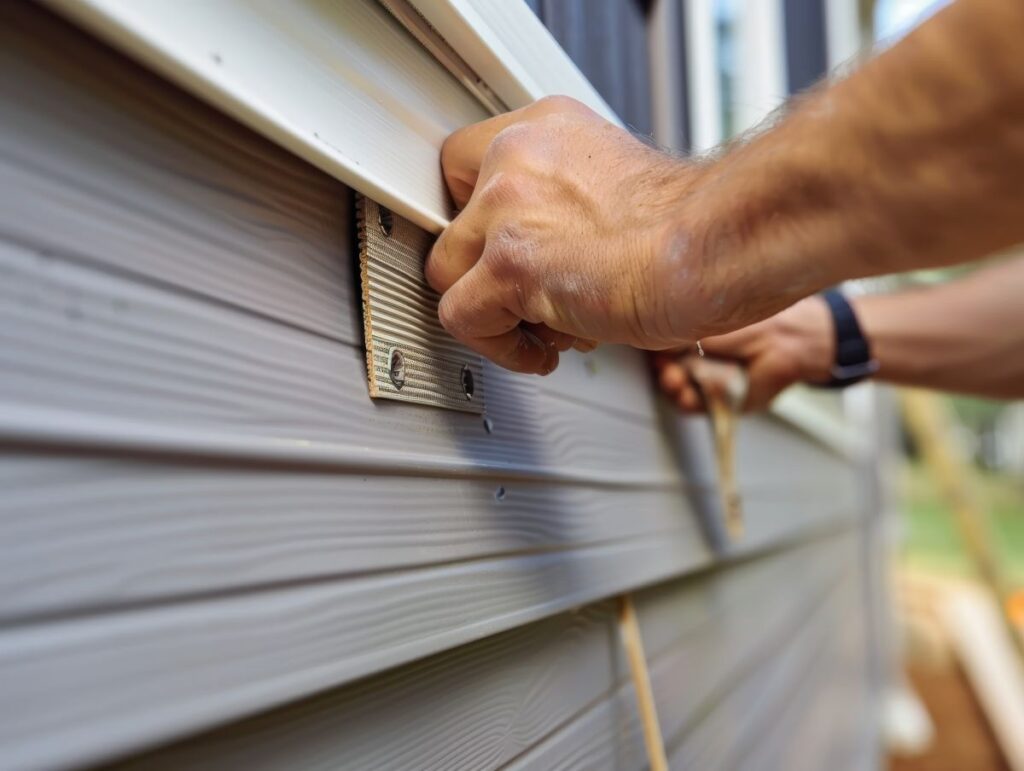
7. Attaching the Siding Panels
Now it’s time to fasten the siding to the house. The crew starts at the bottom and works their way up, overlapping panels for water runoff.
- Nail or screw panels into place, leaving room for expansion
- Stagger vertical seams for visual appeal
- Use a level to ensure straight lines and uniform reveal
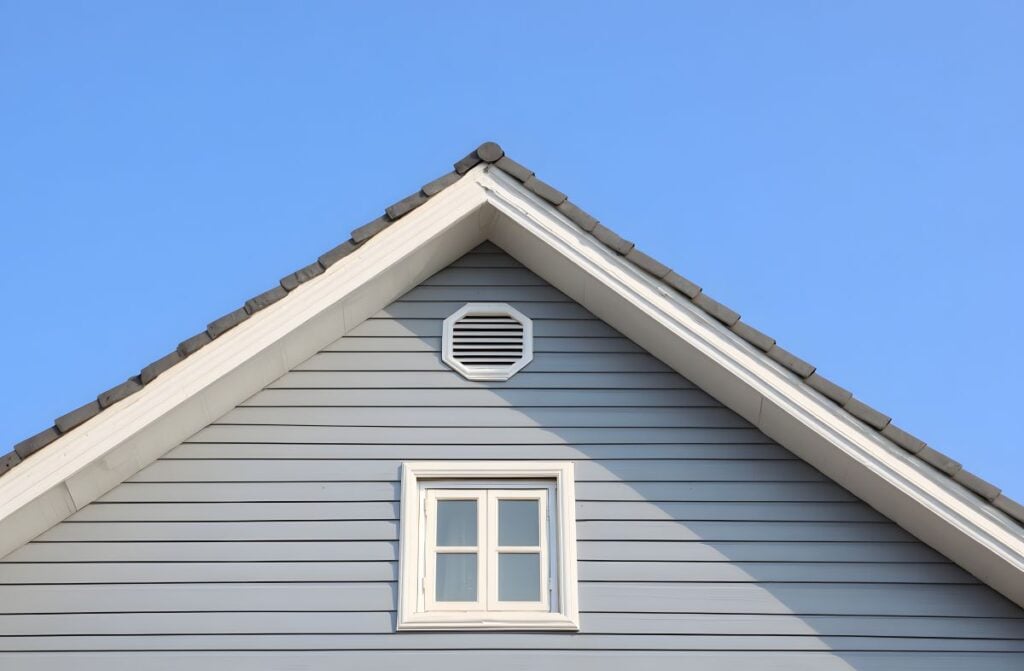
8. Final Details and Finish Work
Once the main siding is up, installers add detail elements like vent covers, mounting blocks, soffits, and fascia.
- Install J-channels and utility trim around windows and doors
- Add vents, light mounts, and finishing caps
- Inspect the full installation for gaps or loose fasteners
9. Cleanup and Final Inspection
A good contractor finishes the job with a full site cleanup and walk-through.
- Remove debris and dispose of old materials
- Sweep the site and remove tarps
- Review the work with the homeowner and address any questions
Common Siding Installation Mistakes to Avoid
Choosing an experienced contractor reduces the chance of issues during installation. Still, it’s helpful to know what to watch for:
- Improper nail spacing: Can lead to loose panels or warping
- No gap for expansion: Vinyl siding expands and contracts with temperature
- Poor flashing: Can cause water leaks over time
- Lack of underlayment: Without a moisture barrier, walls may absorb water
Why Hammond Homeowners Choose Discount Roof
At Discount Roof, we believe siding installation should be straightforward, stress-free, and built to last. We’ve helped homeowners in Hammond and surrounding areas improve their home’s appearance and weather resistance for years.
We understand the challenges of our regional climate and how to choose materials that hold up to seasonal changes.
Start Your Siding Project With Confidence
New siding adds lasting beauty and energy efficiency to your home. When installed correctly, it protects your biggest investment and gives you peace of mind for decades.
Contact Discount Roof today for a free siding estimate. We’ll guide you through every step of the process and help you choose the perfect siding solution for your Hammond home.
Recent Articles
The Roof Learning Center
Get Your Free Estimate Today