
How To Install Gutter Guards Like a Pro (6 Steps)
If you’re wondering how to install gutter guards, you’re in the right place. Whether you’re tackling a DIY project or simply want to understand the process before hiring a pro, knowing the right steps can help protect your home from water damage and cut down on maintenance.
In this guide, you’ll learn:
- The tools and materials you need
- Step-by-step installation instructions
- Pro tips to avoid common mistakes
This approach is ideal for homeowners in Hammond and surrounding areas, where leaves, twigs, and seasonal debris frequently clog gutters.

Why Gutter Guards Matter
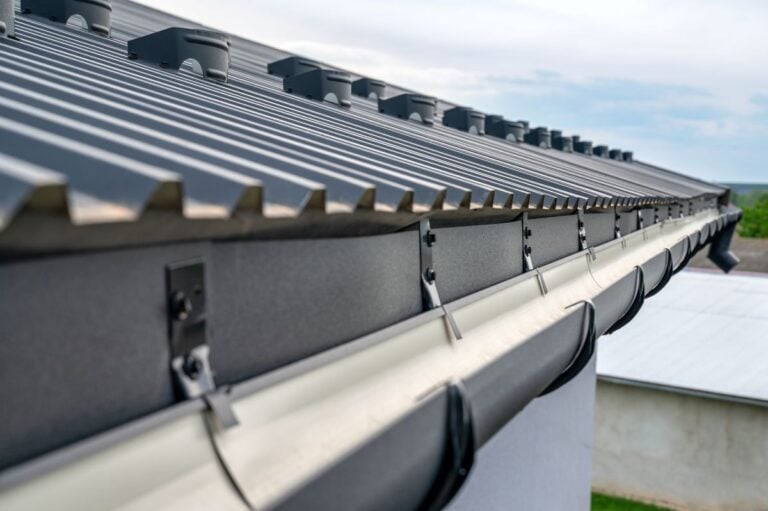
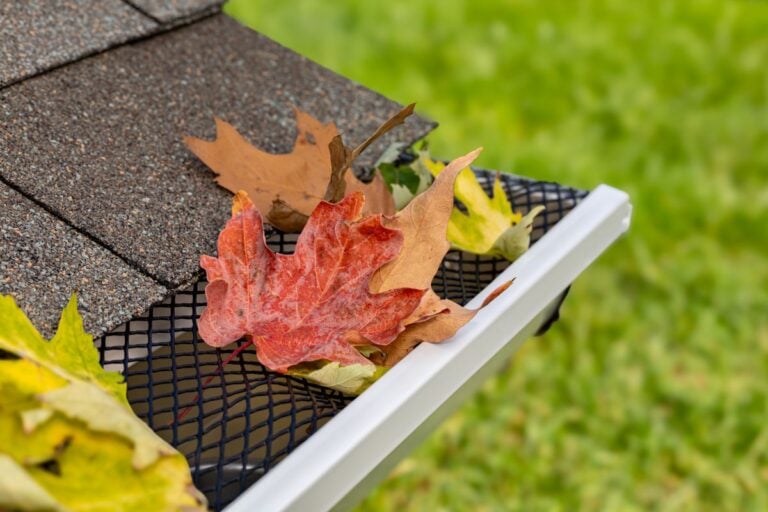
Gutter guards prevent blockages by keeping leaves and debris out while allowing rainwater to flow through freely. In climates like Northwest Indiana, where rain, snow, and falling leaves are common, a clean and protected gutter system can prevent major headaches like ice dams, roof leaks, and foundation issues.
Benefits of Gutter Guards
- Reduced maintenance: Spend less time cleaning your gutters
- Prevent clogs: Keep water flowing freely through your downspouts
- Avoid damage: Reduce risk of rot, mold, and water intrusion
- Pest prevention: Keep birds, rodents, and insects out
What You’ll Need for Installation
Before you begin, gather these basic tools and supplies. This list covers most types of screen or mesh gutter guards.
Tools and Materials
- Ladder: Ensure it’s stable and tall enough to reach your gutters
- Work gloves: Protect your hands from sharp edges and debris
- Tin snips or utility scissors: For cutting mesh guards to fit
- Screwdriver or drill: Needed if your guards require fasteners
- Gutter guards: Choose based on your gutter style and local debris types
- Safety glasses: Always wear eye protection while working overhead
6 Steps to Install Gutter Guards Like a Pro
Follow these six key steps for a clean and secure installation. These instructions work best for snap-in or drop-in mesh or screen-style gutter guards commonly found in retail stores.
1. Clean the Gutters Thoroughly
Start with a blank slate. Remove all leaves, twigs, and debris from the gutters and downspouts. If your gutters haven’t been cleaned in several months, this may take some time. Be sure to wear gloves and use a gutter scoop or small hand shovel to remove compacted debris.
- Check water flow: Flush gutters with a hose to confirm proper drainage. If water pools or drains slowly, double-check the downspouts for blockages.
- Inspect for damage: Repair any loose sections, cracks, or rusted areas before installing the guards. A damaged gutter won’t support a guard properly.
2. Measure and Cut the Guards
Take careful measurements of each gutter section before cutting any material. Accurate cuts save time and reduce material waste.
- Use tin snips or shears: Make sure cuts are clean to avoid sharp burrs that could snag debris or harm your hands during installation.
- Lay out the sections: Pre-fit them on the ground to streamline installation. Double-check corners and downspout openings to ensure proper fit and coverage.
3. Position the First Section
Choose a corner or end of the gutter run to begin your installation. This helps ensure consistency and control over alignment.
- Snap-in guards: Slide the back edge under the roof shingles only if your product is designed for that. Avoid lifting shingles too far, as this could damage them.
- Lay-flat guards: Simply rest the mesh inside the gutter, making sure it lies flush along the edges without creating gaps.
4. Secure the Guard
Properly securing your guards is essential for long-term performance. If your guard system uses clips or screws, follow the manufacturer’s instructions carefully.
- Use fasteners if provided: This keeps guards in place during wind or storms and ensures a tight seal with the gutter lip.
- Check alignment: Make sure the edge runs flush and doesn’t block water flow. Uneven guards can cause overflow and trap debris instead of shedding it.
5. Overlap Sections Slightly
Avoid leaving any gaps where water or debris could sneak through. Slightly overlapping each guard section creates a more seamless surface.
- Stagger seams: This helps prevent weak points or debris leaks. Overlapping by about half an inch is typically sufficient.
- Check fit: Press down gently to ensure each section lies flat and secure. If a section buckles or bows, recut or adjust the angle as needed.
6. Inspect Your Work
Once all guards are installed, it’s time to give everything a final inspection. A careful walkthrough now will prevent issues down the line.
- Test with water: Run a hose to check water flow and guard placement. Look for any spots where water spills over or pools up.
- Reinforce where needed: Tighten loose areas or re-secure any wobbly edges. Trim any sections that don’t sit flush or obstruct downspouts.

Common Mistakes to Avoid
Installing gutter guards isn’t difficult, but a few common errors can compromise the results. Keep these in mind as you go.
- Skipping the cleaning step: Installing over debris defeats the purpose
- Using the wrong size guard: Always match the guard to your gutter width
- Failing to fasten securely: Guards that shift easily won’t protect properly
- Blocking roof shingles: Improper placement can lead to water backup
Should You DIY or Hire a Pro?
For straightforward systems and accessible roofs, installing gutter guards yourself can save money. However, if your roof is steep, your home has a multi-story layout, or your gutters are heavily worn, it may be safer and more efficient to call in the pros.
Professionals will:
- Ensure proper fit and fastening
- Identify gutter or roof issues during the install
- Offer long-term warranties on parts and labor
Why Hammond Homeowners Trust Discount Roof
At Discount Roof, we believe that protecting your home starts with the details, like properly functioning gutters. We serve homeowners in Hammond and surrounding areas with top-tier roof and gutter solutions that prevent future damage and reduce maintenance stress.
Our team offers gutter guard installations that are fast, clean, and built to last. We assess your specific roof and debris exposure before recommending a product so you’re not overspending or under-protecting.
Whether you need new guards, roof work, or a full inspection, we’re here to help.

Get a Free Gutter Estimate
If you’re ready to upgrade your gutter system and avoid seasonal clogs, contact Discount Roof for a free, no-obligation estimate. We’ll inspect your current setup and recommend the best gutter guard solution for your home in Hammond or nearby.
Stay ahead of water damage and take the hassle out of gutter maintenance, starting today.
Recent Articles
The Roof Learning Center
Get Your Free Estimate Today