Rubber Roof Repair (Cost, Steps & Maintenance)
Understanding how rubber roof repair works can help property owners prevent leaks, control costs, and extend the lifespan of their roofing system. Rubber roofing, most commonly EPDM, is widely used on flat and low slope residential and commercial buildings. For property owners in Michigan City and surrounding areas, knowing what to expect from repairs and maintenance is especially important due to seasonal storms, snow, and temperature swings.
In this guide, you will learn:
- Common causes of rubber roof damage
- Step by step repair procedures
- Average repair costs in 2026
- Maintenance tips to prevent future issues
Let’s explore how rubber roofing systems are repaired and how to protect your investment long term.
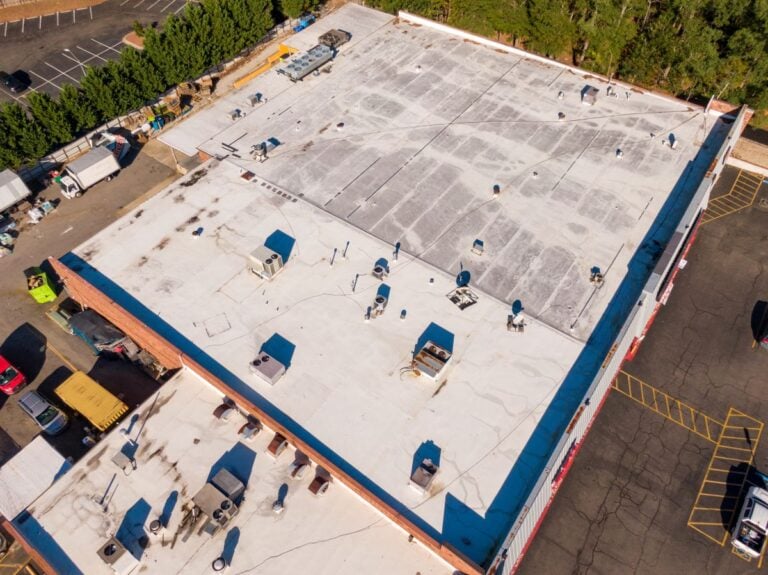
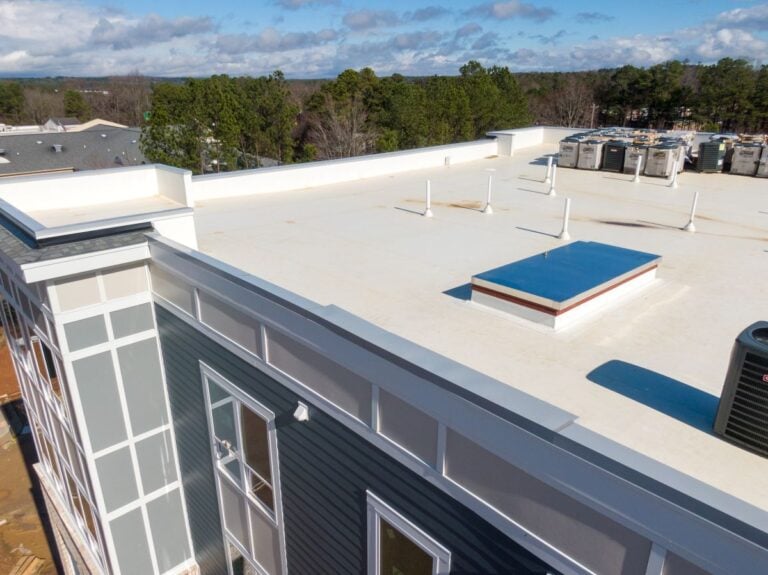
What Is a Rubber Roof?
A rubber roof typically refers to an EPDM membrane roofing system made from synthetic rubber. It is designed to provide a waterproof barrier over flat or low slope structures. Rubber roofing membranes are installed in large sheets to minimize seams and reduce leak risk.
Rubber roofs are popular in Michigan City because they handle freezing temperatures well and remain flexible during seasonal changes. However, like any roofing system, they can develop issues over time.
- Single ply membrane: Installed in wide sheets to reduce seam exposure
- Flexible material: Expands and contracts with temperature changes
- Waterproof barrier: Designed to protect insulation and decking
When properly maintained, rubber roofs can last 20 to 30 years or more.
Common Causes of Rubber Roof Damage
Before discussing repair methods, it helps to understand what typically causes problems. Most rubber roof damage develops gradually rather than suddenly.
- Punctures: Caused by foot traffic, tools, or fallen debris
- Seam separation: Adhesive failure between membrane sheets
- Ponding water: Standing water weakens membrane over time
- Flashing deterioration: Damage around vents, skylights, and HVAC units
- UV exposure: Long term sunlight can cause surface aging
Identifying the root cause ensures the repair addresses the underlying issue.
5 Step Rubber Roof Repair Process
Professional rubber roof repair follows a structured process to ensure lasting results. Below are the six main steps involved in most repair projects.
1. Thorough Roof Inspection
The first step in rubber roof repair is a detailed inspection of the membrane, seams, flashing, and drainage areas. Contractors look for punctures, cracks, bubbling, and loose seams.
- Visual membrane check: Identifies surface damage or tears
- Seam evaluation: Looks for separation or adhesive failure
- Moisture detection: Determines if insulation beneath is wet
A complete inspection ensures no hidden damage is overlooked.
2. Cleaning the Damaged Area
Before applying patches or adhesives, the repair area must be thoroughly cleaned. Dirt, debris, and moisture can prevent proper bonding.
- Remove debris: Clear dirt and loose materials
- Use membrane safe cleaner: Prepare surface for adhesion
- Allow surface to dry: Ensure strong patch bonding
Surface preparation is critical for long term repair success.
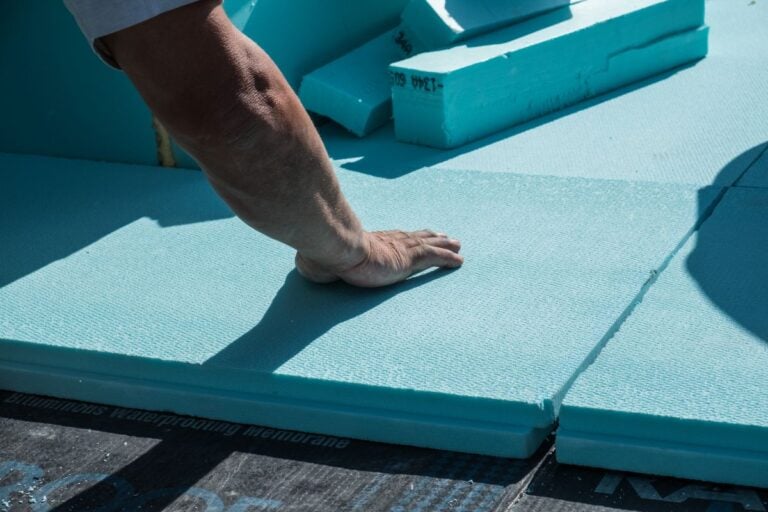
3. Cutting and Preparing the Patch
A patch made from compatible rubber membrane material is cut to size. The patch must extend beyond the damaged area to create a watertight seal.
- Proper overlap: Usually extends at least two inches beyond damage
- Rounded corners: Reduces risk of peeling at edges
- Material compatibility: Matches existing membrane type
Correct sizing prevents premature patch failure.
4. Applying Adhesive or Primer
Depending on the repair method, a bonding adhesive or primer is applied to both the roof surface and the patch material. This ensures a strong chemical bond.
- Even adhesive spread: Prevents air pockets
- Proper cure time: Allows adhesive to activate correctly
- Weather considerations: Avoid application during rain or freezing temperatures
Adhesive quality directly affects repair durability.
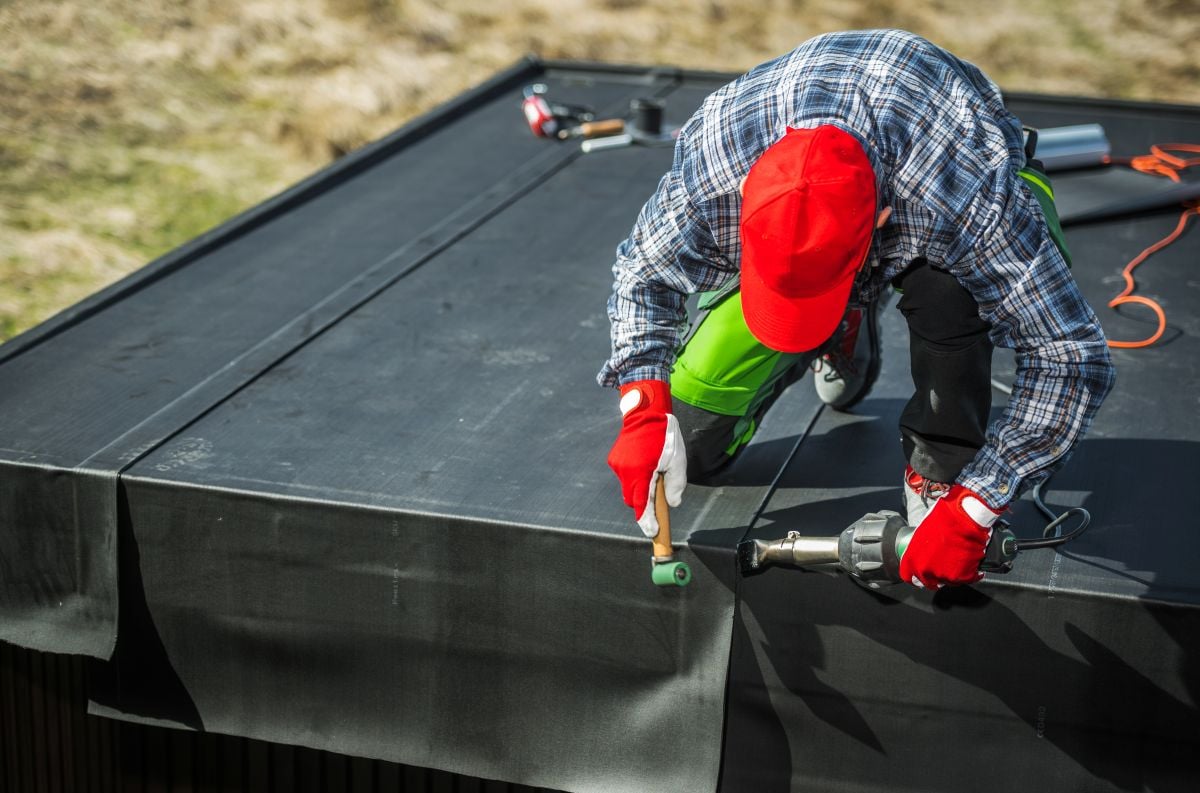
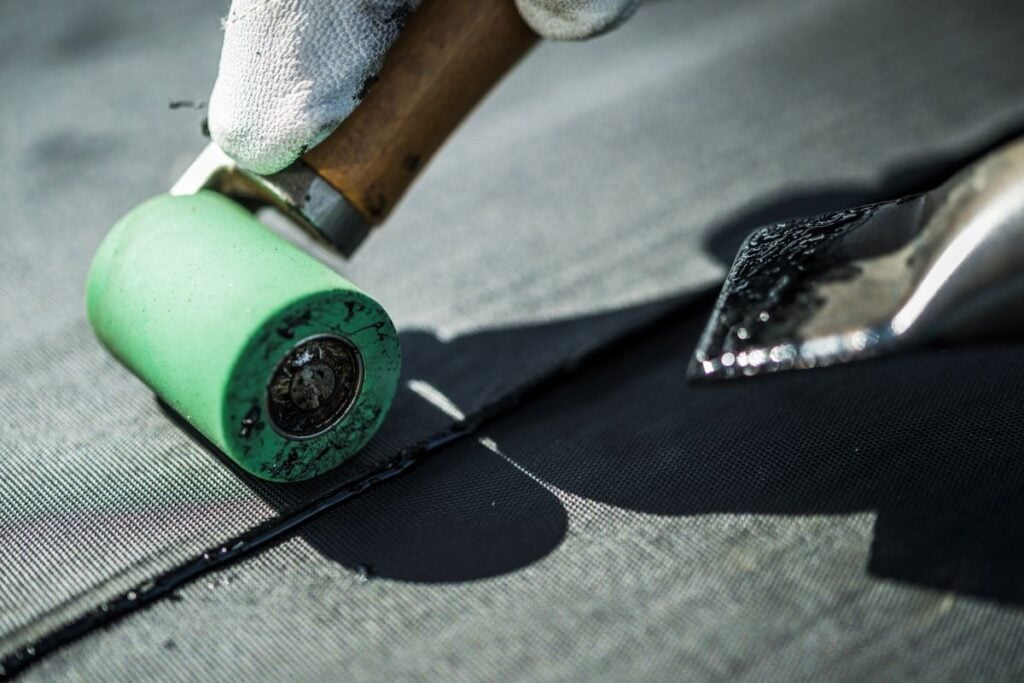
5. Securing and Sealing the Patch
Once adhesive is ready, the patch is placed over the damaged area and pressed firmly into position. A roller is typically used to eliminate trapped air.
- Pressure rolling: Creates secure membrane bond
- Edge sealing: Ensures watertight perimeter
- Final inspection: Confirms full adhesion
Proper sealing prevents water infiltration at patch edges.
Rubber Roof Repair Cost in 2026

Repair costs vary based on damage severity, roof accessibility, and whether insulation replacement is required. In 2026, property owners in Michigan City and surrounding areas can expect the following general price ranges.
| Repair Type | Estimated Cost Range |
| Small puncture patch | $300 to $800 |
| Seam repair | $400 to $1,200 |
| Flashing repair | $500 to $1,500 |
| Section replacement | $1,500 to $4,000 |
| Extensive damage with insulation | $4,000 and above |
Several factors influence final pricing.
- Roof size and access: Larger or multi story buildings increase labor
- Extent of water damage: Wet insulation requires removal
- Emergency service timing: After hours repairs may cost more
- Maintenance history: Neglected roofs may require broader repairs
An on site evaluation provides accurate cost projections.
Example: Minor Repair Prevents Major Replacement
A commercial property owner in Michigan City noticed a small leak after a heavy rainstorm. During inspection, a small puncture was found near an HVAC unit where a technician had accidentally dropped a tool months earlier. The damage was less than three inches wide.
Instead of ignoring the issue, the owner scheduled prompt rubber roof repair. A simple patch and seam inspection resolved the leak for under $800. Had the problem gone unnoticed, trapped moisture could have saturated insulation and required several thousand dollars in replacement work.
This example highlights the value of early detection and timely repair.
Ongoing Maintenance Tips for Rubber Roofs
Routine maintenance significantly reduces the need for major repairs. Property owners should follow a consistent inspection schedule.
- Schedule annual inspections: Identify small issues early
- Clear debris regularly: Prevent punctures and blocked drains
- Check seams after storms: Look for lifting or separation
- Monitor rooftop equipment areas: Ensure flashing remains secure
- Address ponding water quickly: Improve drainage if needed
Proactive care extends the lifespan of rubber roofing systems.
When to Consider Full Replacement

In some cases, repairs may no longer be cost effective. If your rubber roof is approaching 25 to 30 years of age and requires frequent patching, replacement may offer better long term value.
Signs replacement may be necessary include widespread seam failure, extensive membrane cracking, and recurring leaks in multiple locations.
A professional inspection can help determine whether repair or replacement is the smarter investment.
Protect Your Rubber Roof Investment
Rubber roof repair is most effective when handled quickly and professionally. From small punctures to seam separation, timely action prevents water intrusion and structural damage.
If you suspect an issue with your rubber roof, contact Discount Roof today for a free estimate in Michigan City and surrounding areas. Our team will evaluate your roof, explain your options, and provide reliable repairs designed to extend your roof’s lifespan.
Recent Articles
The Roof Learning Center
Get Your Free Estimate Today